Set Up Your eSIM in Under 5 Minutes โšก

Follow these simple steps to install and activate your JamboSim eSIM on iPhone or Android. No tools, no SIM tray - just scan a QR code and go.

Before You Start

Here's what you'll need and what to expect.

QR Code

You'll receive your eSIM QR code via email within 5 minutes of purchase.

Compatible Phone

Make sure your device supports eSIM. Most phones from 2020+ do.

Wi-Fi Connection

You'll need Wi-Fi or data to download the eSIM profile to your device.

Find Your QR Code

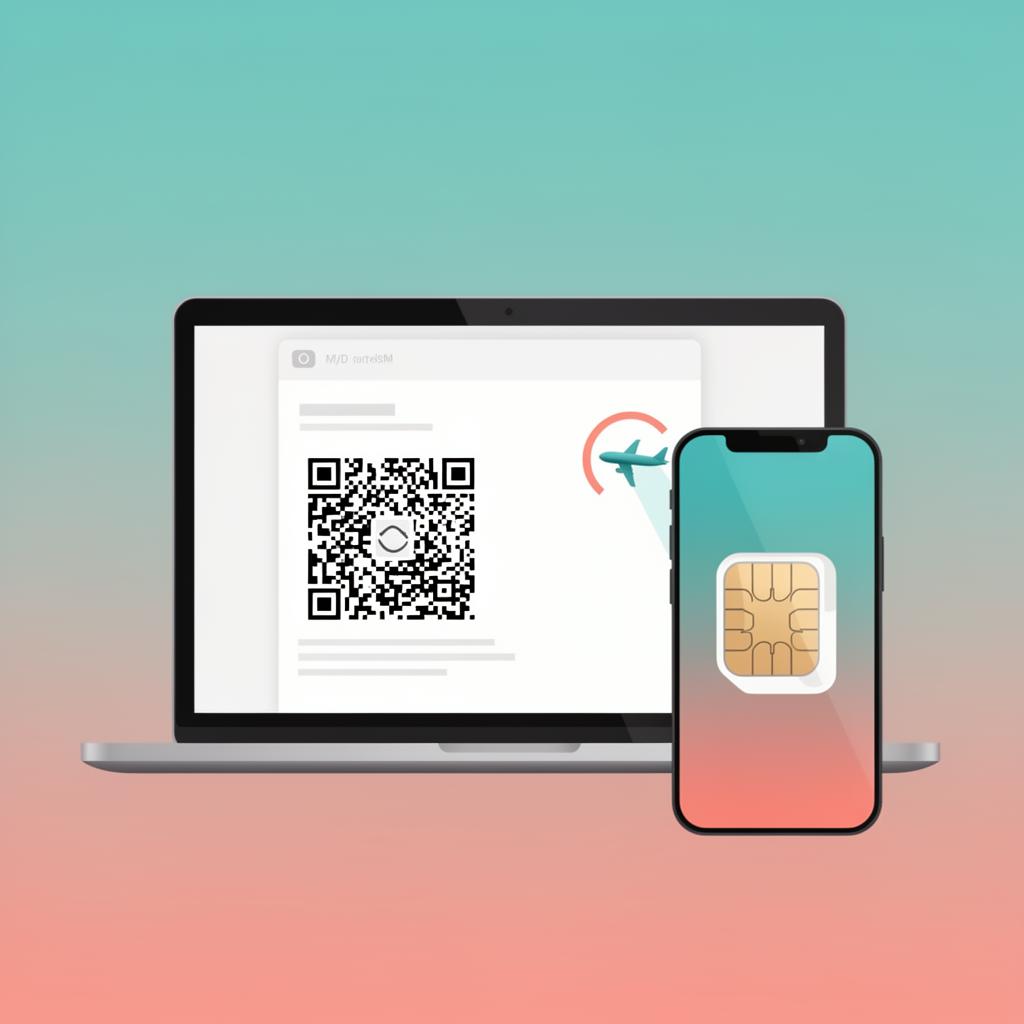
After purchasing your JamboSim eSIM, you'll receive an email with a QR code within 5 minutes. This QR code contains your eSIM profile.

Pro tip: You can install your eSIM before you travel! Just wait to switch it to your primary data line until you arrive at your destination.
Install on iPhone ๐ŸŽ

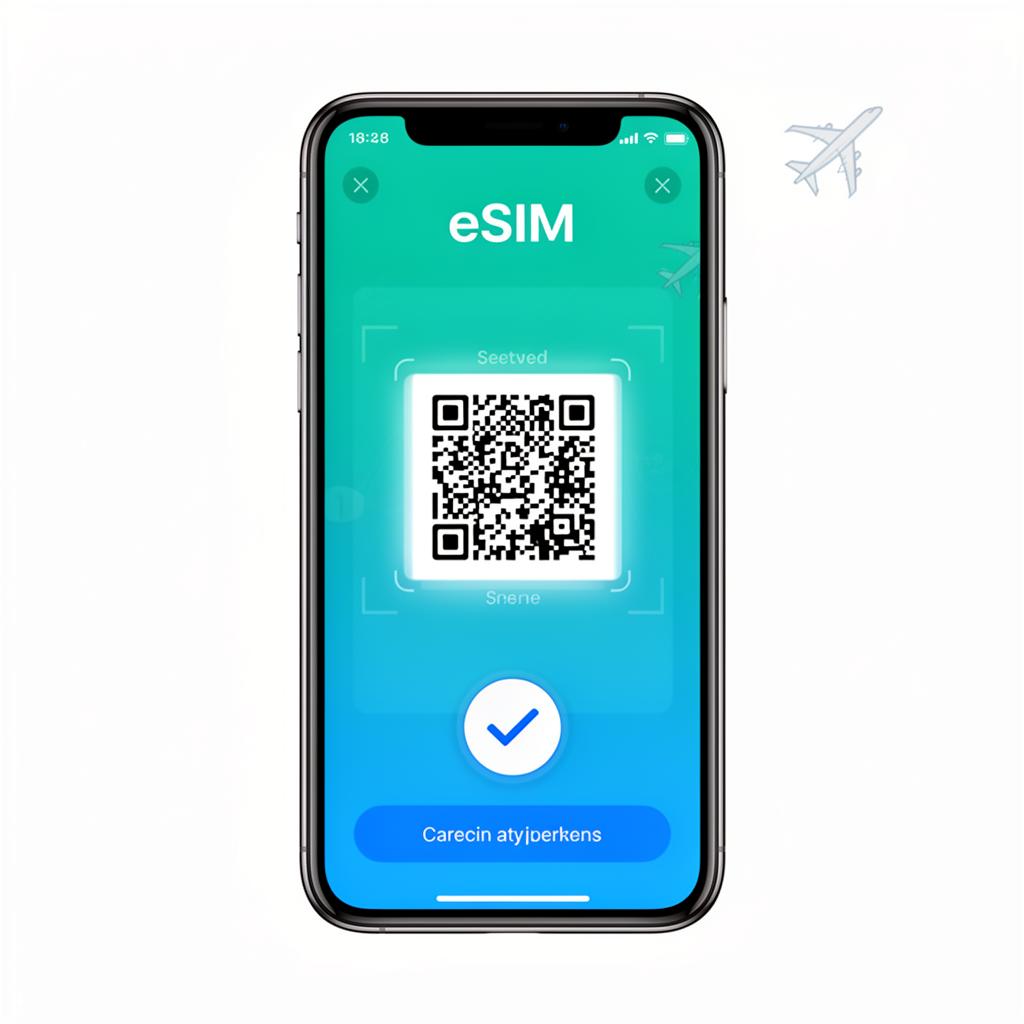
Open your Camera app and point it at the QR code, or tap and hold the QR code image and select "Add eSIM".

Follow the on-screen prompts to install the new data plan. The default options are fine to accept.

Give your eSIM a label like "JamboSim Travel" so you can easily identify it.

Choose Primary for calls/SMS, and your new eSIM for Mobile Data.

Install on Android ๐Ÿค–

Can't scan? On some Android devices, go to Settings โ†’ Network & Internet โ†’ SIMs โ†’ Add eSIM and scan from there.

Open your Camera app and point it at the QR code. Tap the notification that says "Data Plan".

Follow the prompts to install the eSIM. Accept the default options.

Go to Settings โ†’ Network & Internet โ†’ SIMs and select your new eSIM for mobile data.

Enable Data Roaming

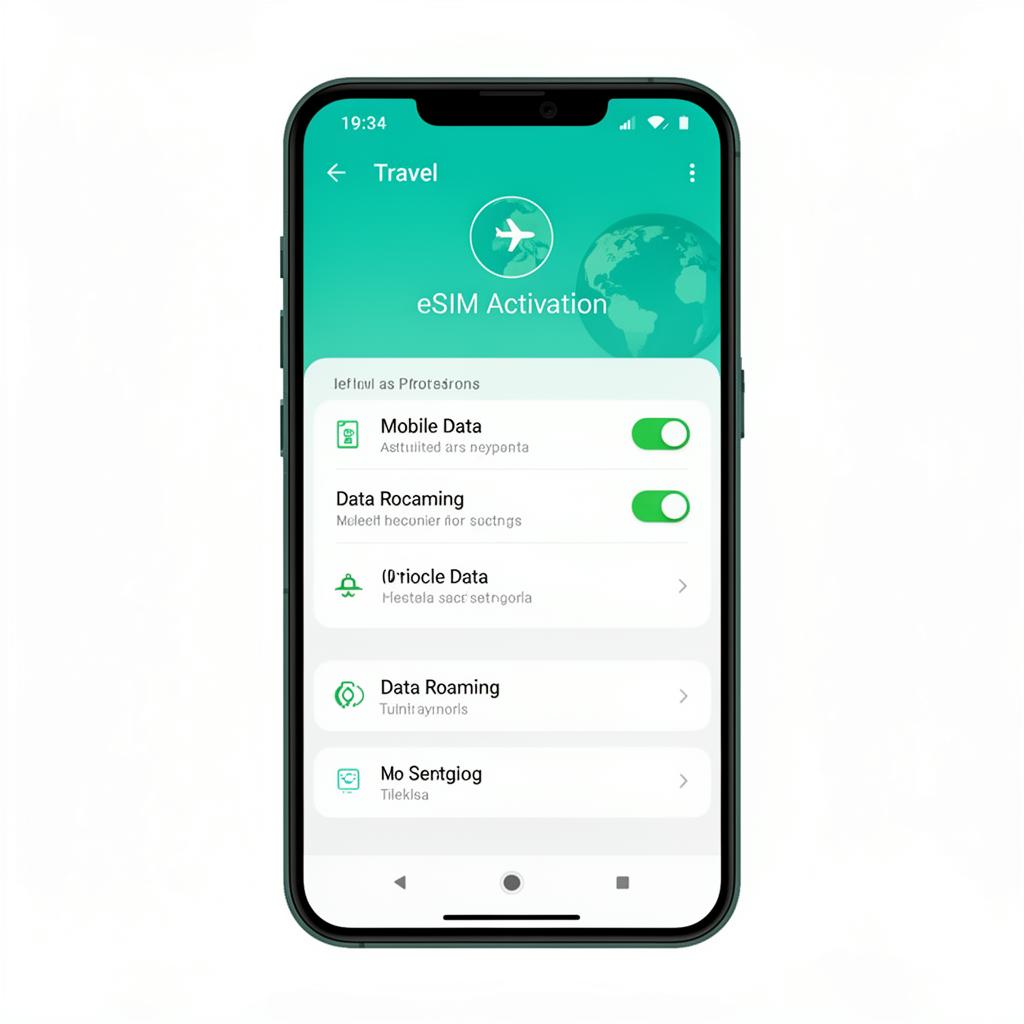
This is the most important step! Your eSIM needs data roaming turned ON to connect.

Go to Settings โ†’ Cellular

Tap your JamboSim eSIM plan

Turn Data Roaming ON

Enable Low Data Mode to save data

Go to Settings โ†’ Network & Internet โ†’ SIMs

Select your JamboSim eSIM

Turn Data Roaming ON

Enable Data Saver mode to save data

Important Tips ๐Ÿ’ก

Turn off roaming on your home SIM

Disable data roaming on your Primary (home) line to avoid unexpected charges.

Install before you fly

You can install the eSIM at home on Wi-Fi. Just switch to it as your primary data line when you land.

Connection takes seconds

After activation, your phone will connect to 5G or 4G LTE almost immediately. In rare cases, it may take up to 15 minutes.

Wi-Fi hotspot works

You can share your eSIM data with other devices using your phone's Wi-Fi hotspot feature.

eSIM not working? ๐Ÿ› ๏ธ

Most activation issues are solved with a quick toggle. Our troubleshooting guide walks you through the 10 most common eSIM problems and how to fix them.

    ๐Ÿ“ฑ
    โœˆ๏ธ
    ๐Ÿ“– eSIM Setup Guide

    Set Up Your eSIM
    in Under 5 Minutes โšก

    Follow these simple steps to install and activate your JamboSim eSIM on iPhone or Android. No tools, no SIM tray - just scan a QR code and go.

    Before You Start

    Here's what you'll need and what to expect.

    QR Code

    You'll receive your eSIM QR code via email within 5 minutes of purchase.

    Compatible Phone

    Make sure your device supports eSIM. Most phones from 2020+ do.

    Wi-Fi Connection

    You'll need Wi-Fi or data to download the eSIM profile to your device.

    Step 1

    Find Your QR Code

    After purchasing your JamboSim eSIM, you'll receive an email with a QR code within 5 minutes. This QR code contains your eSIM profile.

    Pro tip: You can install your eSIM before you travel! Just wait to switch it to your primary data line until you arrive at your destination.

    Scan your eSIM QR code from email
    iPhone eSIM installation steps
    Step 2a

    Install on iPhone ๐ŸŽ

    1. 1Open your Camera app and point it at the QR code, or tap and hold the QR code image and select "Add eSIM".
    2. 2Follow the on-screen prompts to install the new data plan. The default options are fine to accept.
    3. 3Give your eSIM a label like "JamboSim Travel" so you can easily identify it.
    4. 4Choose Primary for calls/SMS, and your new eSIM for Mobile Data.
    Step 2b

    Install on Android ๐Ÿค–

    1. 1Open your Camera app and point it at the QR code. Tap the notification that says "Data Plan".
    2. 2Follow the prompts to install the eSIM. Accept the default options.
    3. 3Go to Settings โ†’ Network & Internet โ†’ SIMs and select your new eSIM for mobile data.

    Can't scan? On some Android devices, go to Settings โ†’ Network & Internet โ†’ SIMs โ†’ Add eSIM and scan from there.

    Android eSIM activation settings
    Step 3

    Enable Data Roaming

    This is the most important step! Your eSIM needs data roaming turned ON to connect.

    ๐ŸŽ iPhone

    1. Go to Settings โ†’ Cellular
    2. Tap your JamboSim eSIM plan
    3. Turn Data Roaming ON
    4. Enable Low Data Mode to save data

    ๐Ÿค– Android

    1. Go to Settings โ†’ Network & Internet โ†’ SIMs
    2. Select your JamboSim eSIM
    3. Turn Data Roaming ON
    4. Enable Data Saver mode to save data

    Important Tips ๐Ÿ’ก

    Turn off roaming on your home SIM

    Disable data roaming on your Primary (home) line to avoid unexpected charges.

    Install before you fly

    You can install the eSIM at home on Wi-Fi. Just switch to it as your primary data line when you land.

    Connection takes seconds

    After activation, your phone will connect to 5G or 4G LTE almost immediately. In rare cases, it may take up to 15 minutes.

    Wi-Fi hotspot works

    You can share your eSIM data with other devices using your phone's Wi-Fi hotspot feature.

    eSIM not working? ๐Ÿ› ๏ธ

    Most activation issues are solved with a quick toggle. Our troubleshooting guide walks you through the 10 most common eSIM problems and how to fix them.

    Read: 10 common eSIM issues and fixes
    ๐Ÿ“ฑ
    ๐ŸŒ
    โœˆ๏ธ

    Ready to get connected? ๐ŸŒŠ

    Choose your destination and get your eSIM delivered to your inbox in minutes.