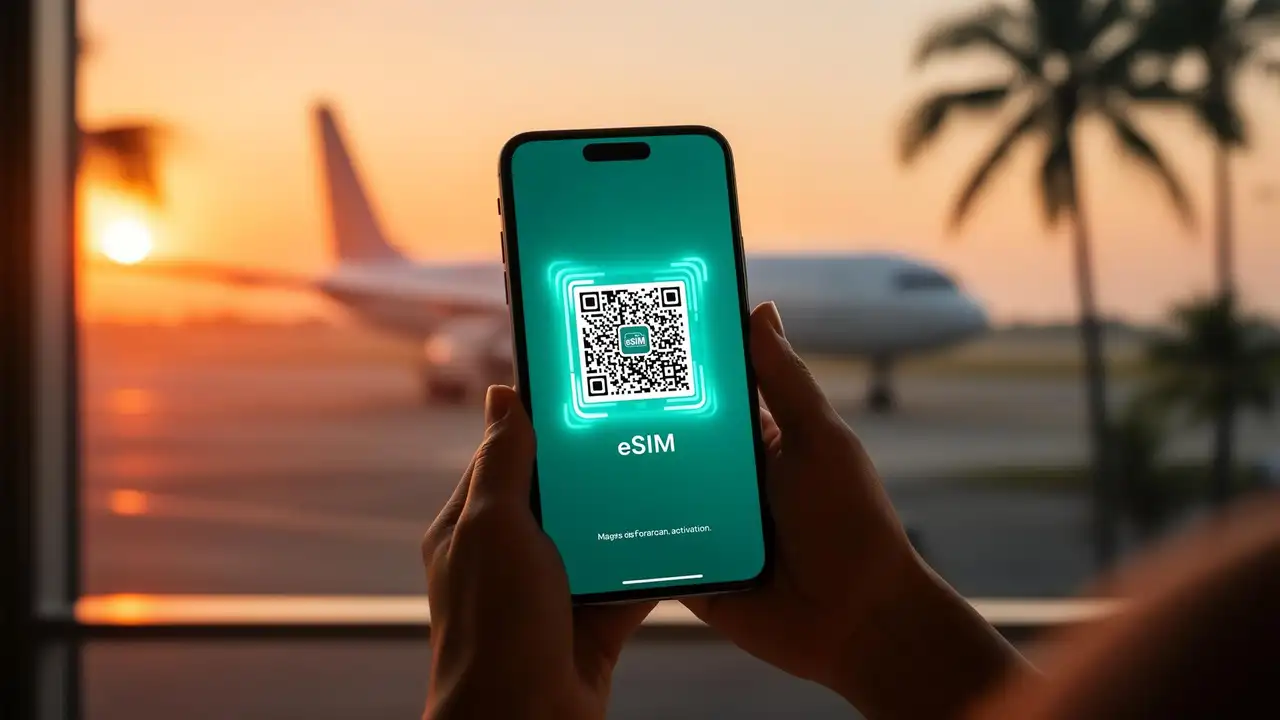
The complete 2026 guide to installing and activating an eSIM on iPhone and Android - QR code, manual entry, and one-tap install, with troubleshooting tips that actually work.
By 2026, eSIMs are the default on almost every flagship phone - iPhone 14 and newer (US models are eSIM-only), Google Pixel 7 and newer, Samsung Galaxy S23 and newer, and most mid-range Androids released in the last two years. Installing one takes about two minutes, but only if you know which buttons to tap.
This is the no-fluff, screenshot-free, step-by-step guide for installing and activating a JamboSim eSIM on iPhone and Android in 2026 - including the new "one-tap install" link, the classic QR code method, and what to do when something goes sideways.
Before you start: install your eSIM at home on Wi-Fi, before you fly. You only need to do this once. The eSIM stays dormant until you land and switch it on.
A phone that's eSIM-compatible and carrier-unlocked (check the device list) A stable Wi-Fi connection Your JamboSim activation email (with QR code, manual details, and one-tap link) About 2 minutes
That's it. No SIM tray, no paperclip, no airport queue.
--
If you're on iPhone with iOS 17.4 or later, JamboSim sends you a Universal eSIM link. This is by far the fastest way.
1. Open the JamboSim activation email on your iPhone. 2. Tap the big "Install eSIM" button. 3. iOS opens Settings automatically and shows the plan details. 4. Tap Continue → Add eSIM. 5. Label it (e.g. "JamboSim Spain") and choose your default line settings. 6. Done. Skip to the Activating Your eSIM on Arrival section below.
If the one-tap link doesn't open Settings, fall back to Method 2.
--
Works on every iPhone XS or newer running iOS 12.1+.
1. Open the activation email on a different screen - laptop, iPad, or print it. You can't scan a QR code from the same phone you're installing on. 2. On your iPhone, go to Settings → Cellular (or Mobile Service outside the US). 3. Tap Add eSIM → Use QR Code. 4. Point the camera at the QR code from your email. 5. Tap Continue → Add eSIM. 6. Choose a label and your default line for calls/iMessage/data. 7. Important: when asked which line to use for cellular data, you can pick JamboSim now or wait until you land.
--
Steps vary slightly by manufacturer, but the flow is nearly identical.
1. Settings → Connections → SIM manager 2. Tap Add eSIM → Scan QR code from service provider 3. Point at the QR code and tap Add 4. Toggle the eSIM on when ready
1. Settings → Network & internet → SIMs 2. Tap + Add SIM → Download a SIM instead? 3. Tap Next and scan the QR code 4. Confirm and label the plan
The wording differs, but search for "eSIM" or "Add mobile plan" in Settings - the rest is the same scan-and-confirm flow.
--
Sometimes the QR code won't scan - bad lighting, smudged screen, you printed it tiny. JamboSim emails you the SM-DP+ Address and Activation Code as text for exactly this case.
iPhone: on the Add eSIM screen, tap "Enter Details Manually" at the bottom. Android: on the scan screen, tap "Enter activation code manually" or "Need help?".
Paste the SM-DP+ address and activation code exactly as shown in your email. Done.
--
Installing ≠ activating. Your JamboSim plan starts the moment your phone connects to a partner network in your destination (or on the date you scheduled at checkout, whichever is later).
When you land:
1. Turn off Airplane Mode. 2. Open Settings → Cellular / Mobile Service (iPhone) or SIMs / SIM manager (Android). 3. Make sure your JamboSim eSIM line is enabled. 4. Switch Mobile Data to your JamboSim line. 5. Turn Data Roaming ON for the JamboSim line - this is required, even though there are no roaming charges. It just tells the phone "yes, connect to local networks." 6. Wait 30–60 seconds while your phone registers with a local carrier.
That's it. You should see a signal bar appear and data start flowing.
--
| Setting | iPhone | Android | |--------|--------|---------| | Add eSIM | Settings → Cellular → Add eSIM | Settings → SIMs → Add eSIM | | Switch data line | Cellular → Cellular Data | SIMs → Mobile data | | Turn on roaming | Cellular → [eSIM line] → Data Roaming | SIMs → [eSIM] → Roaming | | Keep home number | Leave physical SIM enabled for calls/SMS | Same | | Disable when home | Toggle eSIM line off - don't delete it | Same |
--
Wait 2 minutes, then toggle Airplane Mode on → off. If still nothing, manually select a network: Settings → Cellular → Network Selection → Off → pick a carrier.
Increase brightness on the screen showing the QR code, or use Method 4 and enter the SM-DP+ address manually.
Each QR code can only be installed once. If you accidentally deleted the eSIM, contact JamboSim support and we'll reissue it.
Toggle the JamboSim line off and back on. Check APN settings - for most JamboSim plans the APN is auto-configured, but in rare cases (Vietnam, India) you may need to set it manually. The activation email lists the APN if required.
This is almost always your default line setting. Set iMessage and FaceTime to your home number, and mobile data to the JamboSim line.
Your device is either eSIM-incompatible or carrier-locked. Locked phones from US carriers (AT&T, Verizon postpaid) often need to be unlocked before they'll accept third-party eSIMs.
--
Install at home, on Wi-Fi. Don't wait until you land - airport Wi-Fi is unreliable and you'll be stressed. Label your eSIMs ("Japan May 2026"). After 3 trips you'll have a list and you'll thank yourself. Don't delete used eSIMs until you're 100% sure you won't top up. Just toggle them off. Keep your physical SIM in for 2FA. Your bank's SMS codes still go to your home number. Screenshot your activation email. If you lose internet before installing, you'll still have the QR code.
--
If you've made it this far, you already know more about eSIM activation than 90% of travelers. The only thing left is to actually try it.
Browse country plans or check our regional plans if you're hopping between countries. Plans start at a few dollars and install in under 2 minutes.
Have a phone you're not sure about? Check the compatibility list - we keep it updated for every iPhone, Pixel, Galaxy, and major Android released since 2018.
Safe travels - and stay connected. 🌍
--
Last updated: May 2026. Steps verified on iOS 18, One UI 7, and Android 15.